Advertisement
Google AdMob and Facebook Ads are available on the app. Let's check out the way to configure them.
1. App Tracking Transparency
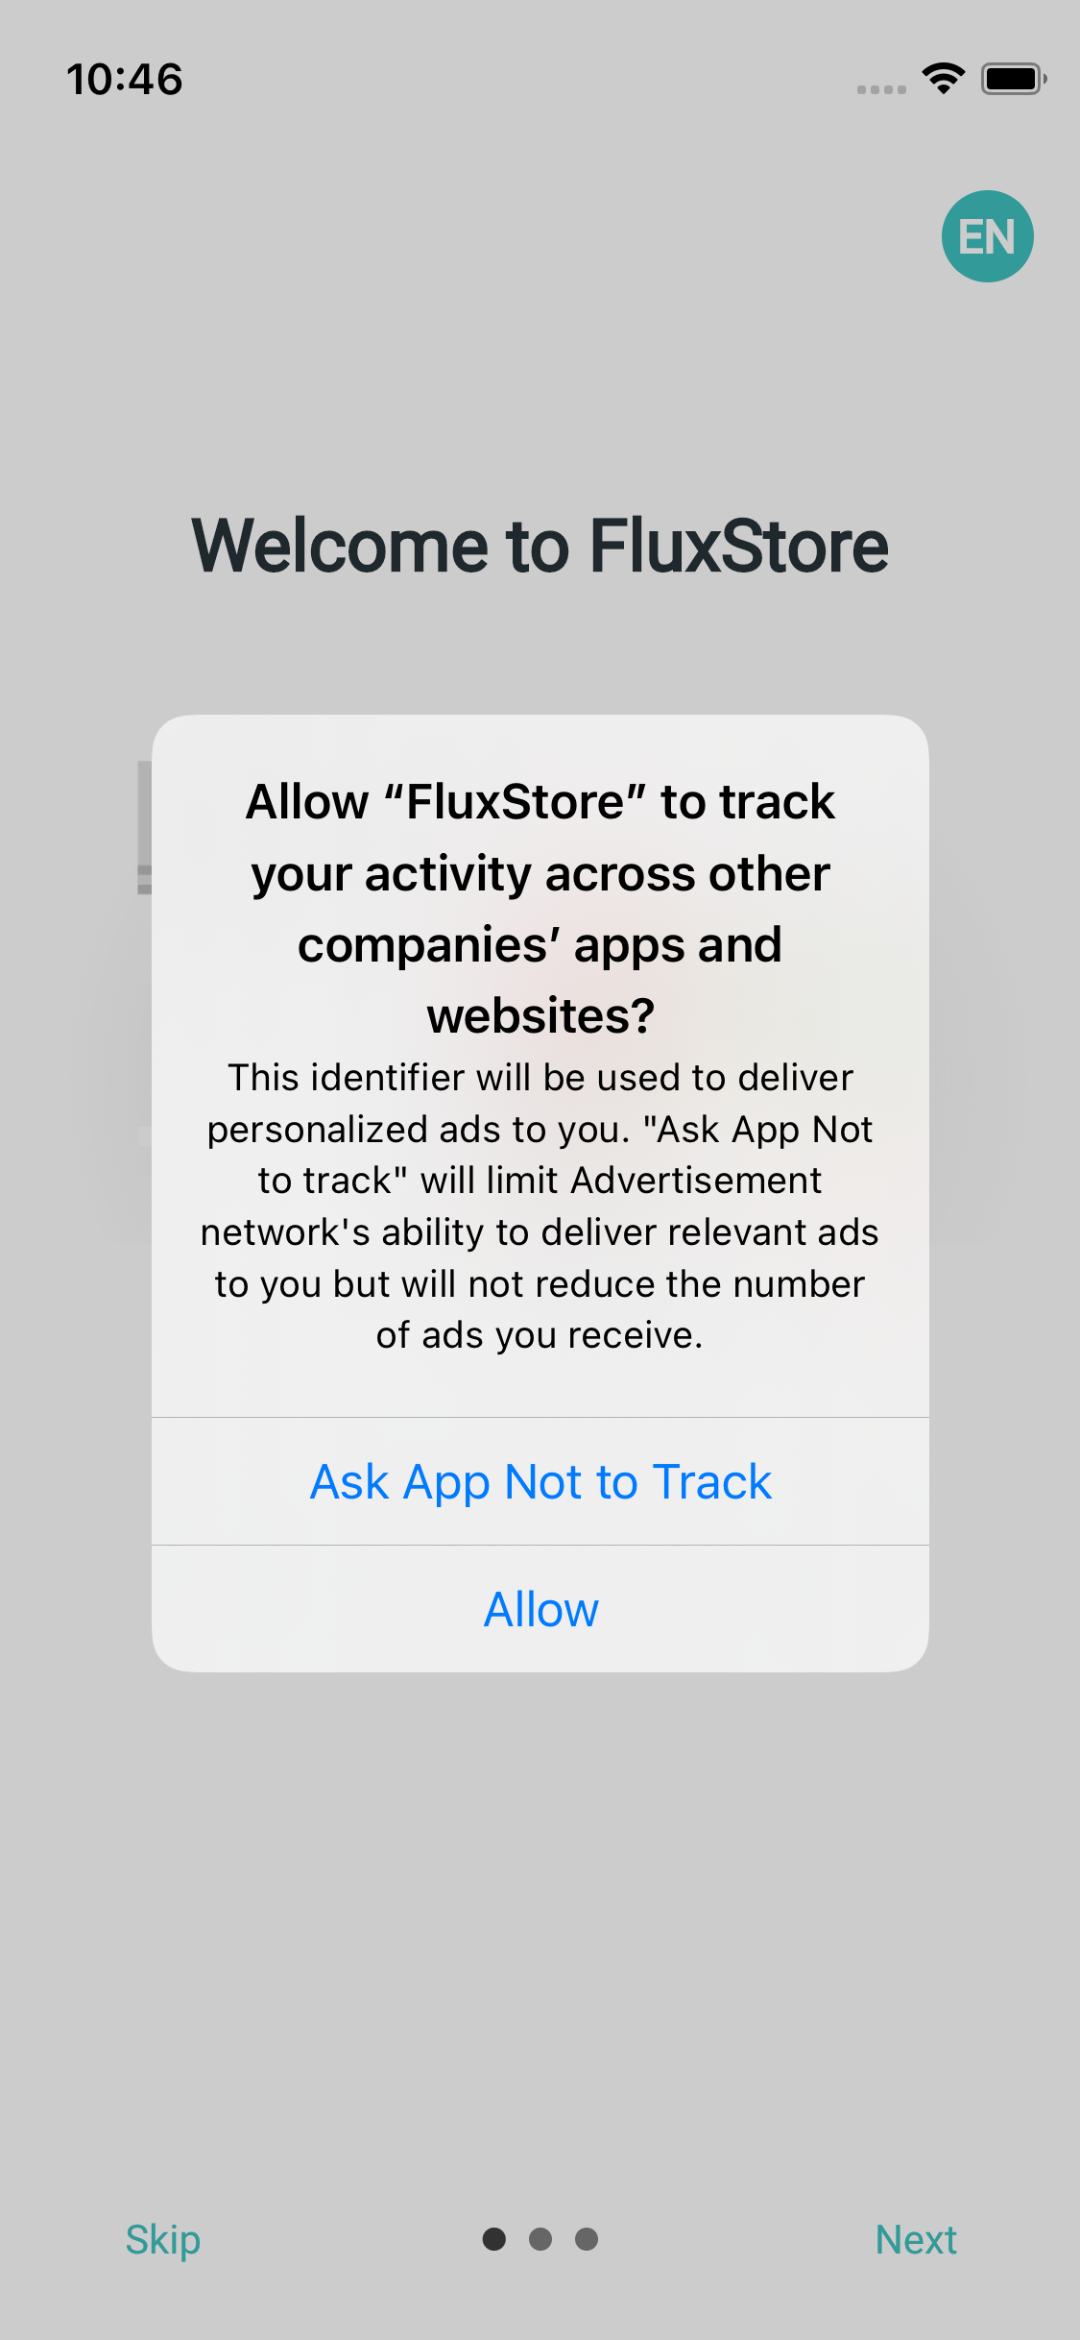
The App Tracking Transparency is supported to allow you to display iOS 14+ tracking authorization dialog and request permission to collect data. Collected data is crucial for ad networks to work efficiently on ios 14+ devices. This also prevents your app from being rejected by App Store by violating Legal - Privacy - Data Use and Sharing session.
2. Google AdMob
1. Setup Google AdMob app and Ad Units
- Because Flutter is a multi-platform SDK, you need to add an app and ad units for both Android and iOS in AdMob.
Step 1: In AdMob Console, create a new Android App.
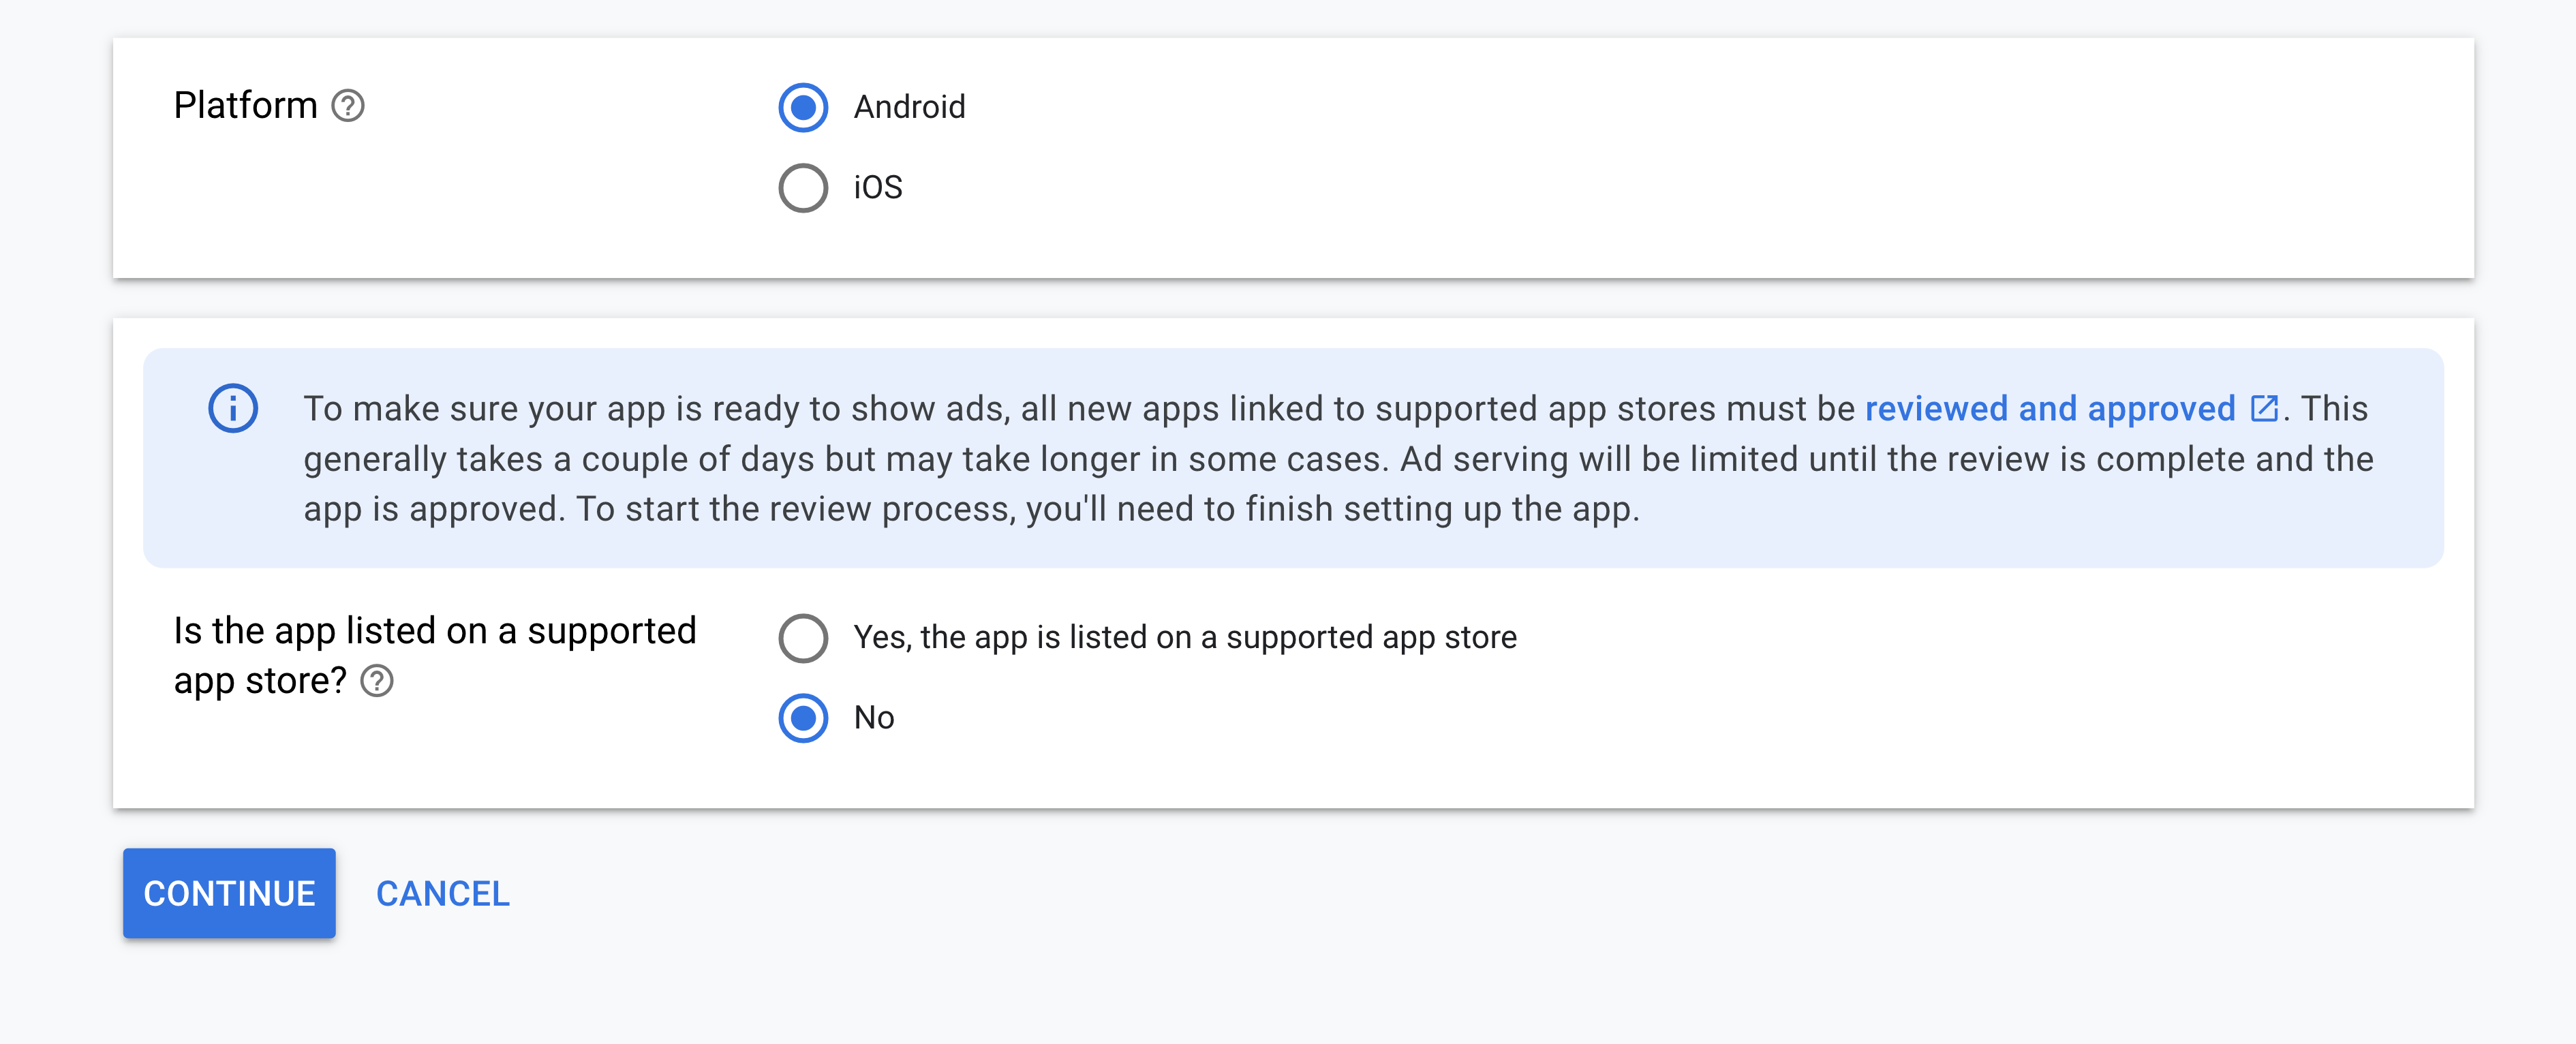
If you choose "
Yes" when being asked "Is the app listed on a supported app store?", your advertisement setup must be reviewed and approved before being available to use.
Step 2: Create Ad Units (Banner, Reward, Interstitial, and Native)
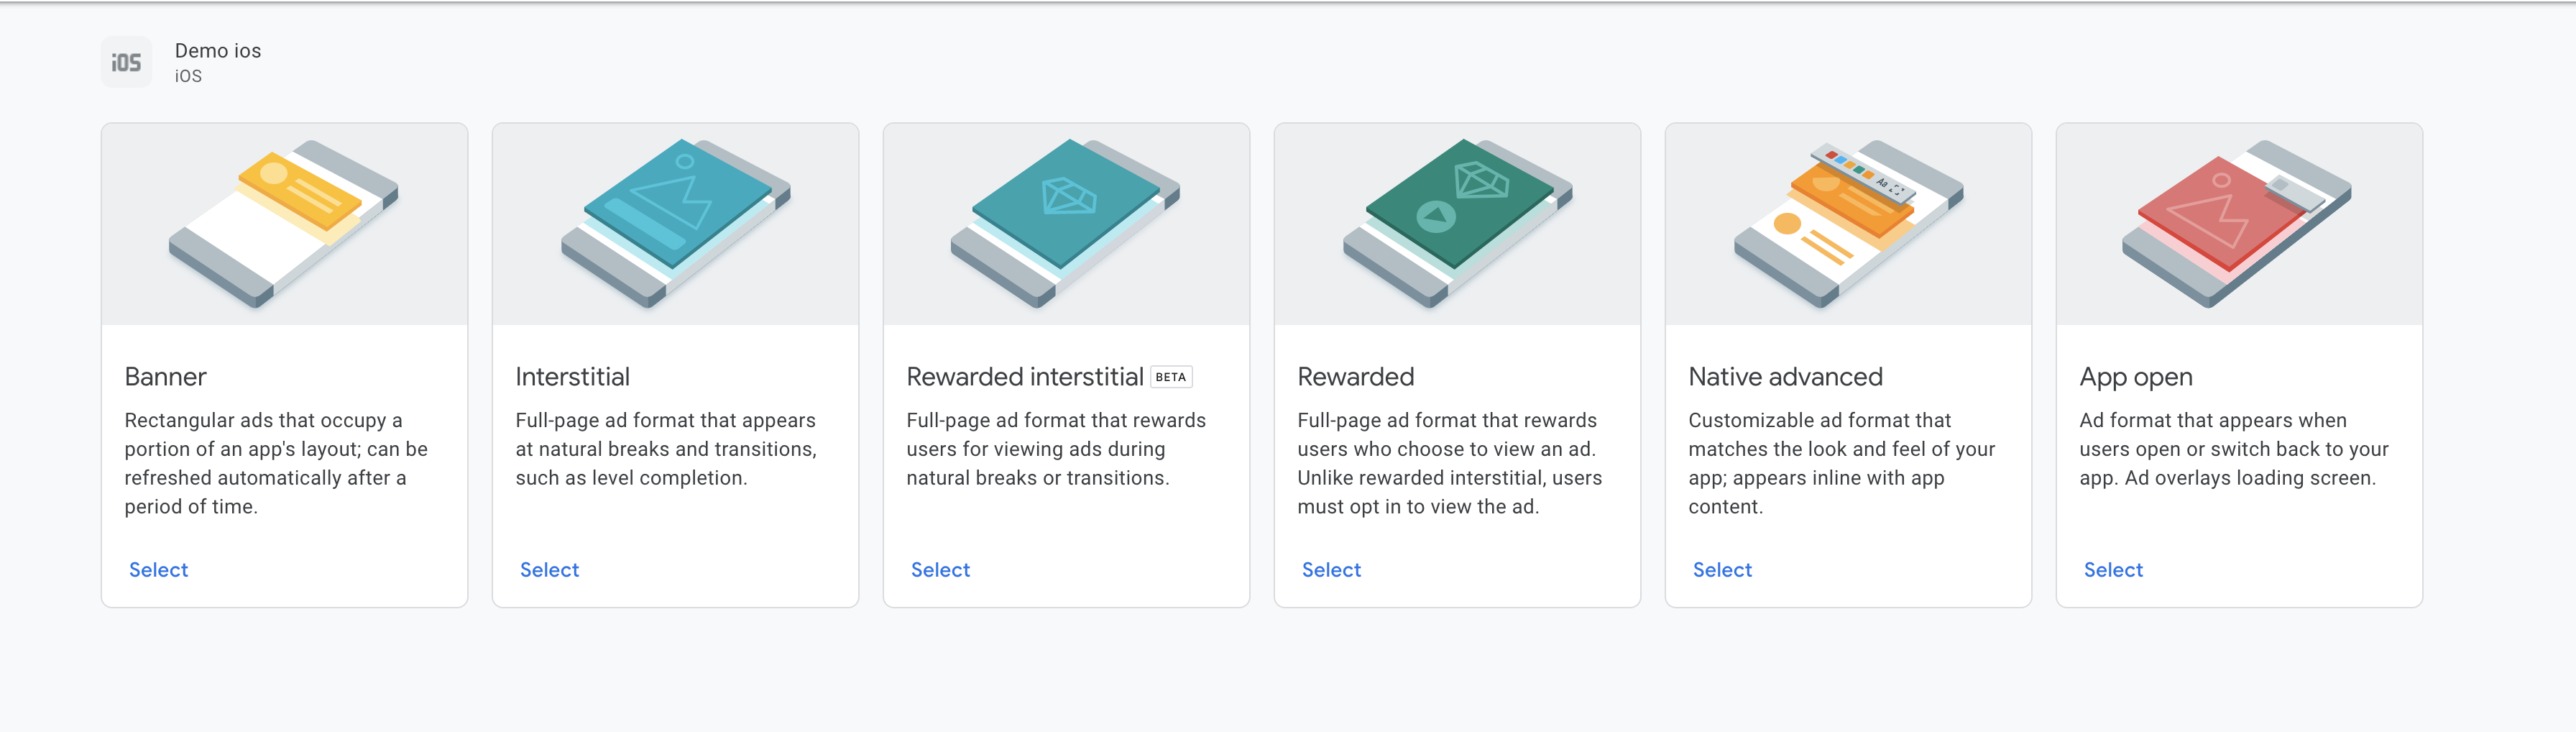
Step 3: Repeat Step 1 and Step 2 to create iOS App and Ad units for iOS App.
2. Setup Google AdMob on Builder
Android App IDandiOS App IDshare the same formatca-app-pub-xxxxxxxxxxxxxxxx~yyyyyyyyyy. These 2 values can be found atApps > VIEW ALL APPSat the left-hand side menu bar.
3. Facebook Ads
Requirements:
- Payment Information on Facebook Developer must be completed.
- Your app needs Facebook Approval.
- You can test your app even if it hasn't been published on Google Play/ App Store yet thanks to testingID that we supported. However, keep in mind that you need to update your information at Google Developer when you released your app in order to continue using this feature.
Note: You might see different illustrations compared with the below instructions because of different versions in Facebook Developer Console by the time these documents were written.
Step 1: Integrate your app in Facebook Developer Console
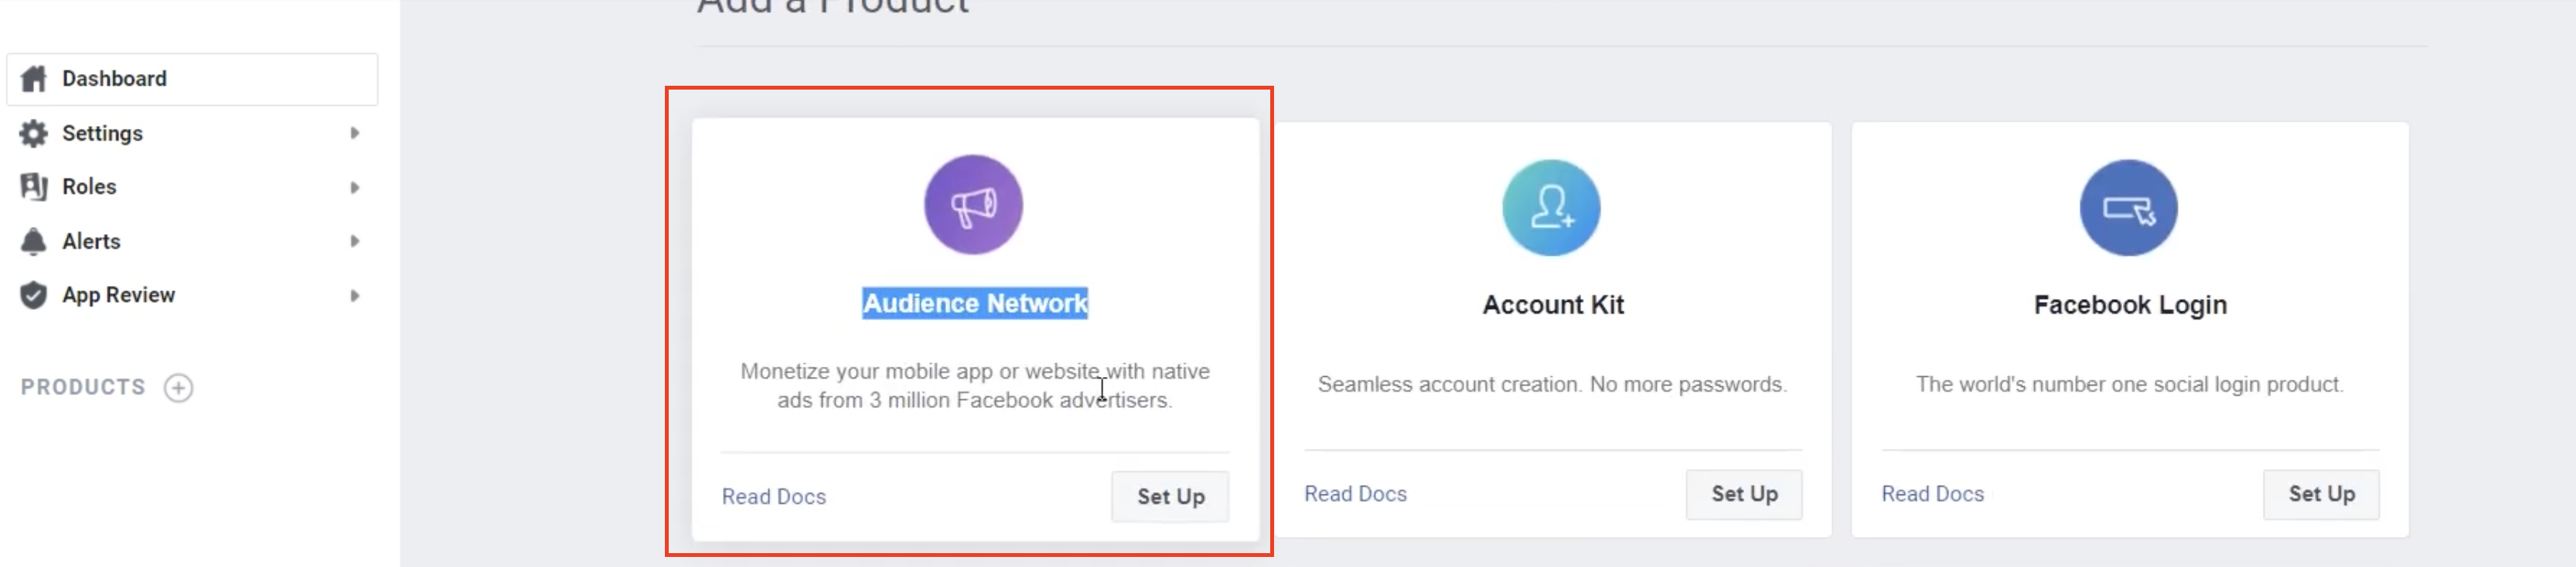
Step 2: In Dashboard, click on Setup Audience Network and fill out all of the necessary information:
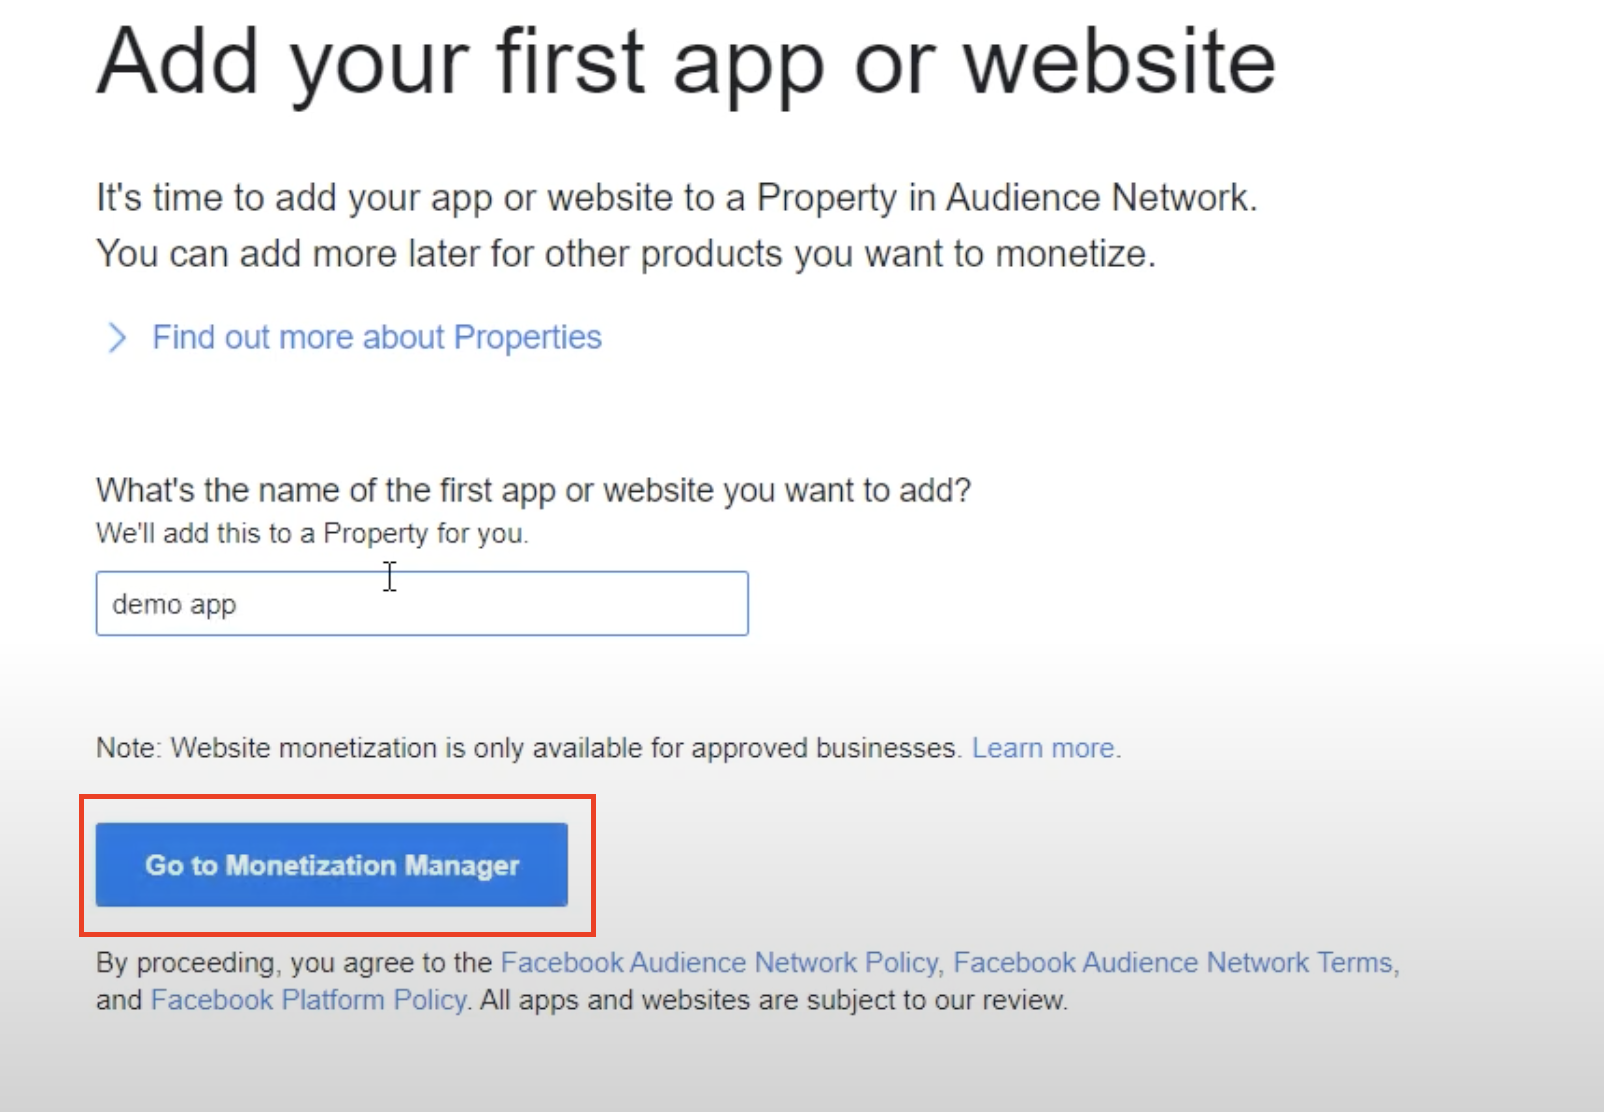
Step 3: When you finish to register your Audience Network information, click Go to Monetization Manager
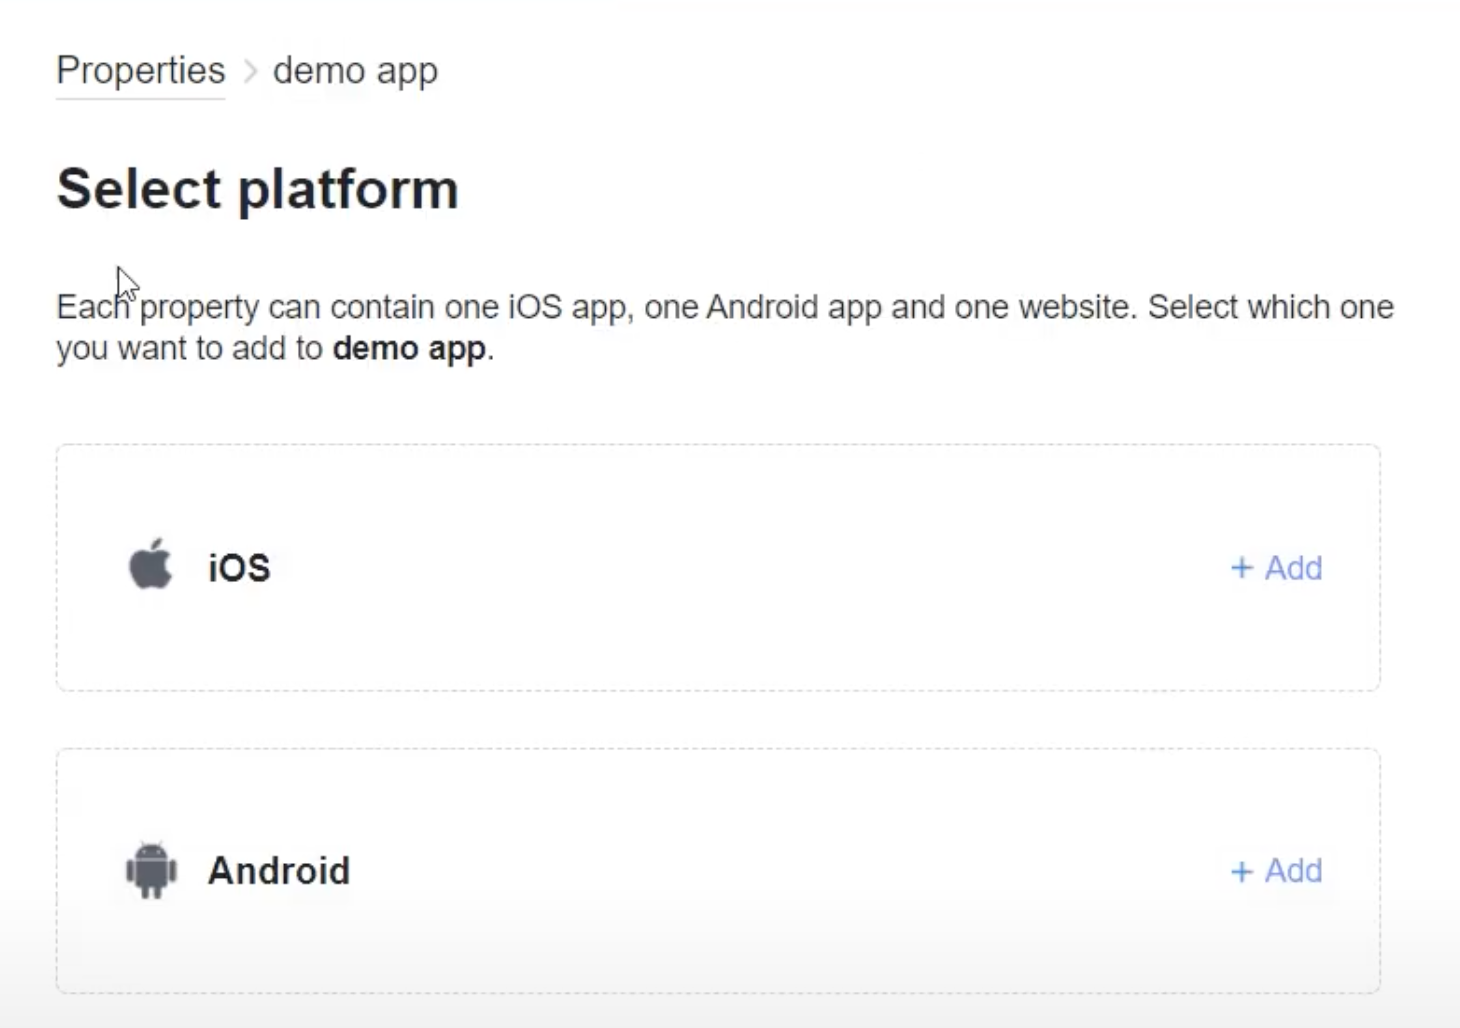
Step 4: Select the platform you want to implement your Ads on. Let's say Android, then click + Add
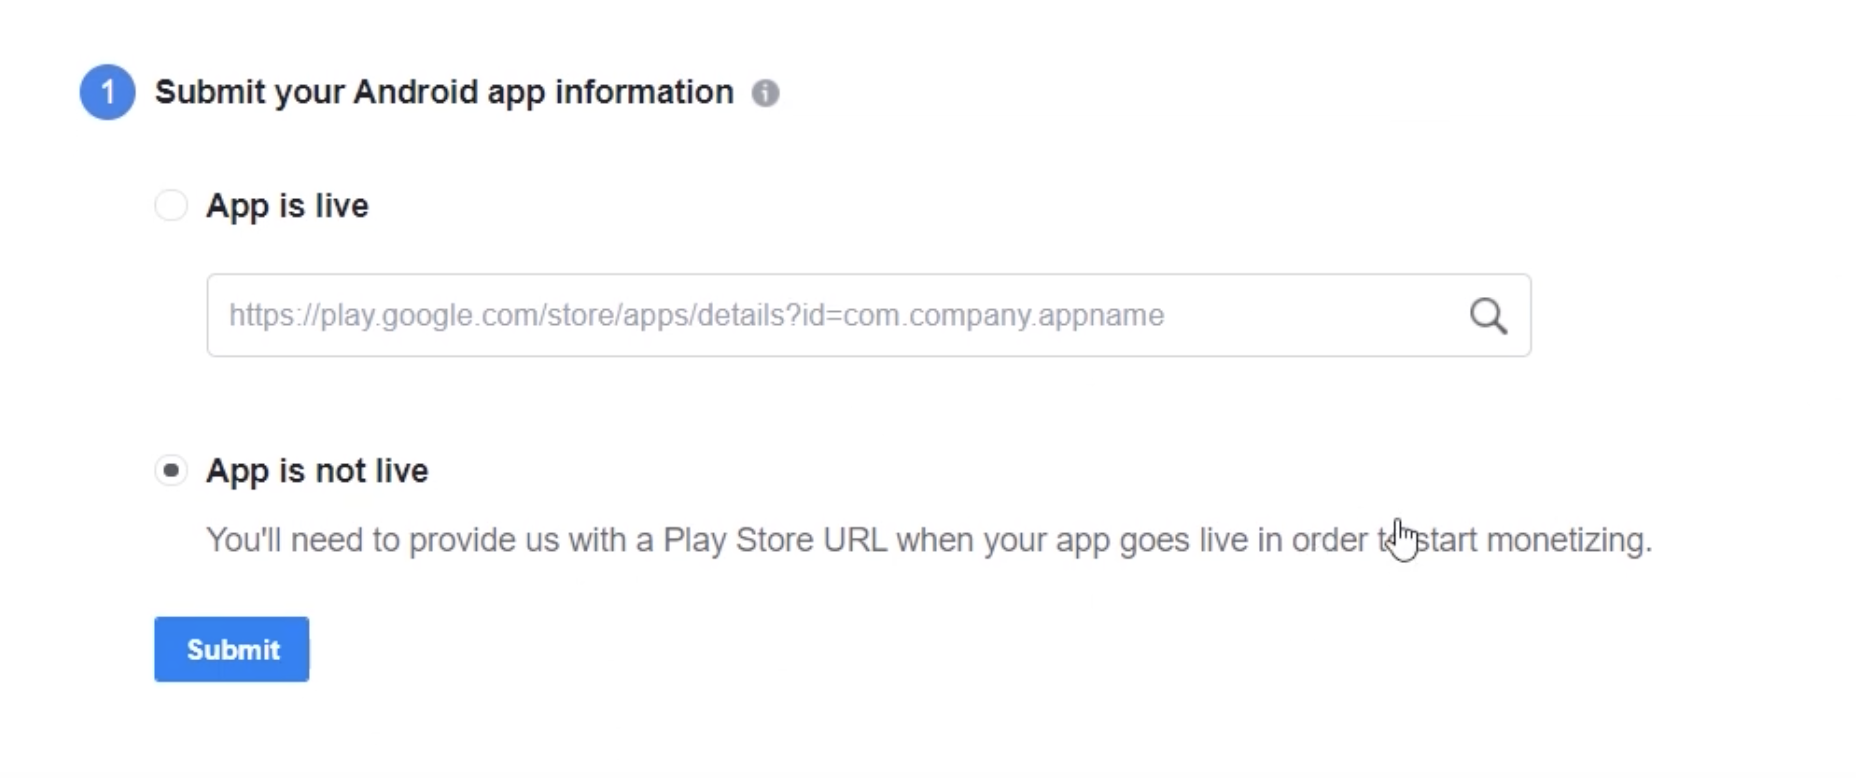
Step 5: Declare your app information whether your app has been released on Google Play / App Store or not.
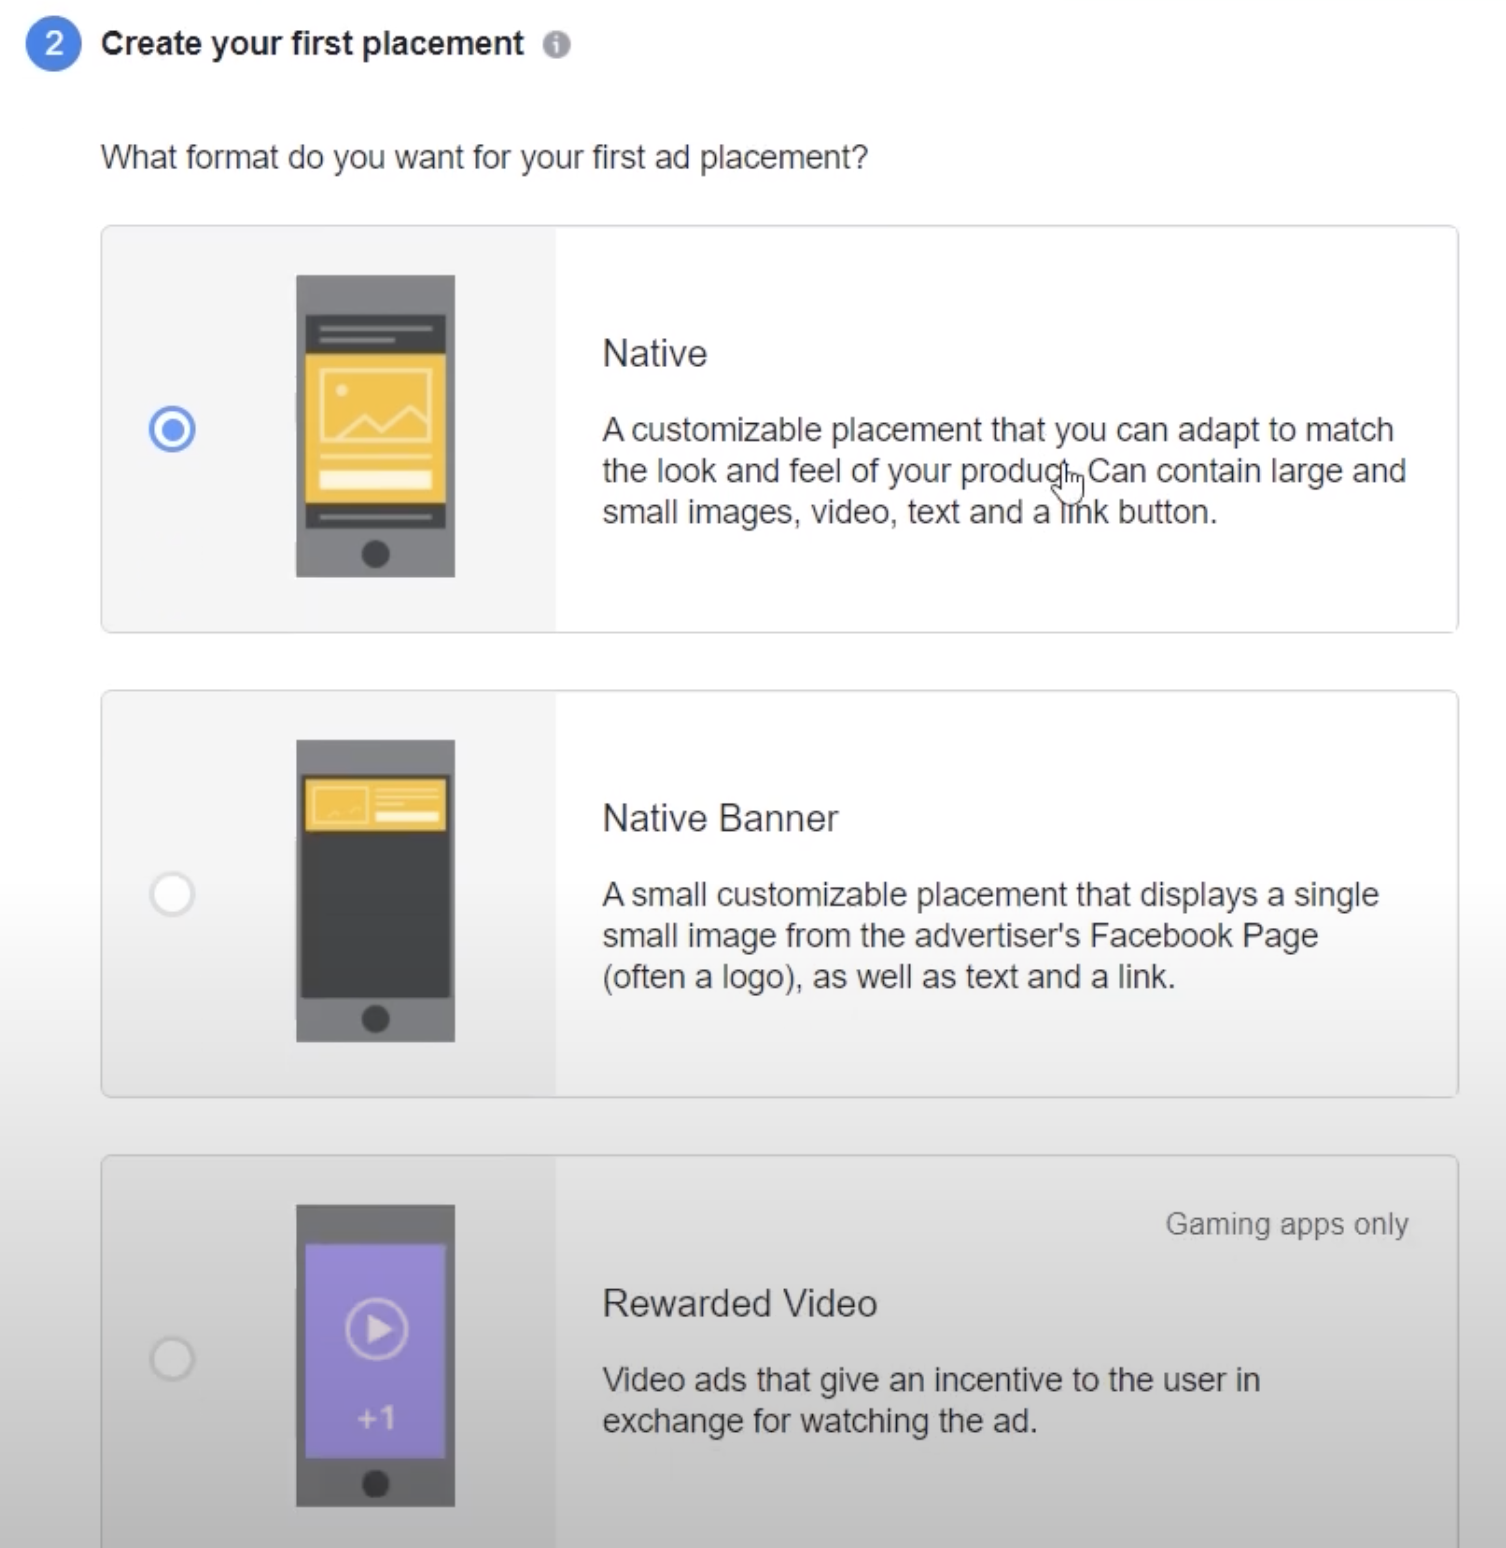
Step 6: Select your first placement, then choose the type of ads placement.
Currently, the placements supported are Banner, Interstitial, Native, and Reward. Remember to create those placements when you finish
Add Android / iOS App
Step 7: At Confirm Audience Network SDK Integration step, check The Audience Network SDK has been integrated into my app and click Confirm Manually
Step 8: At Enter your business payment account information step, click Add payment account and finish your payment registration.
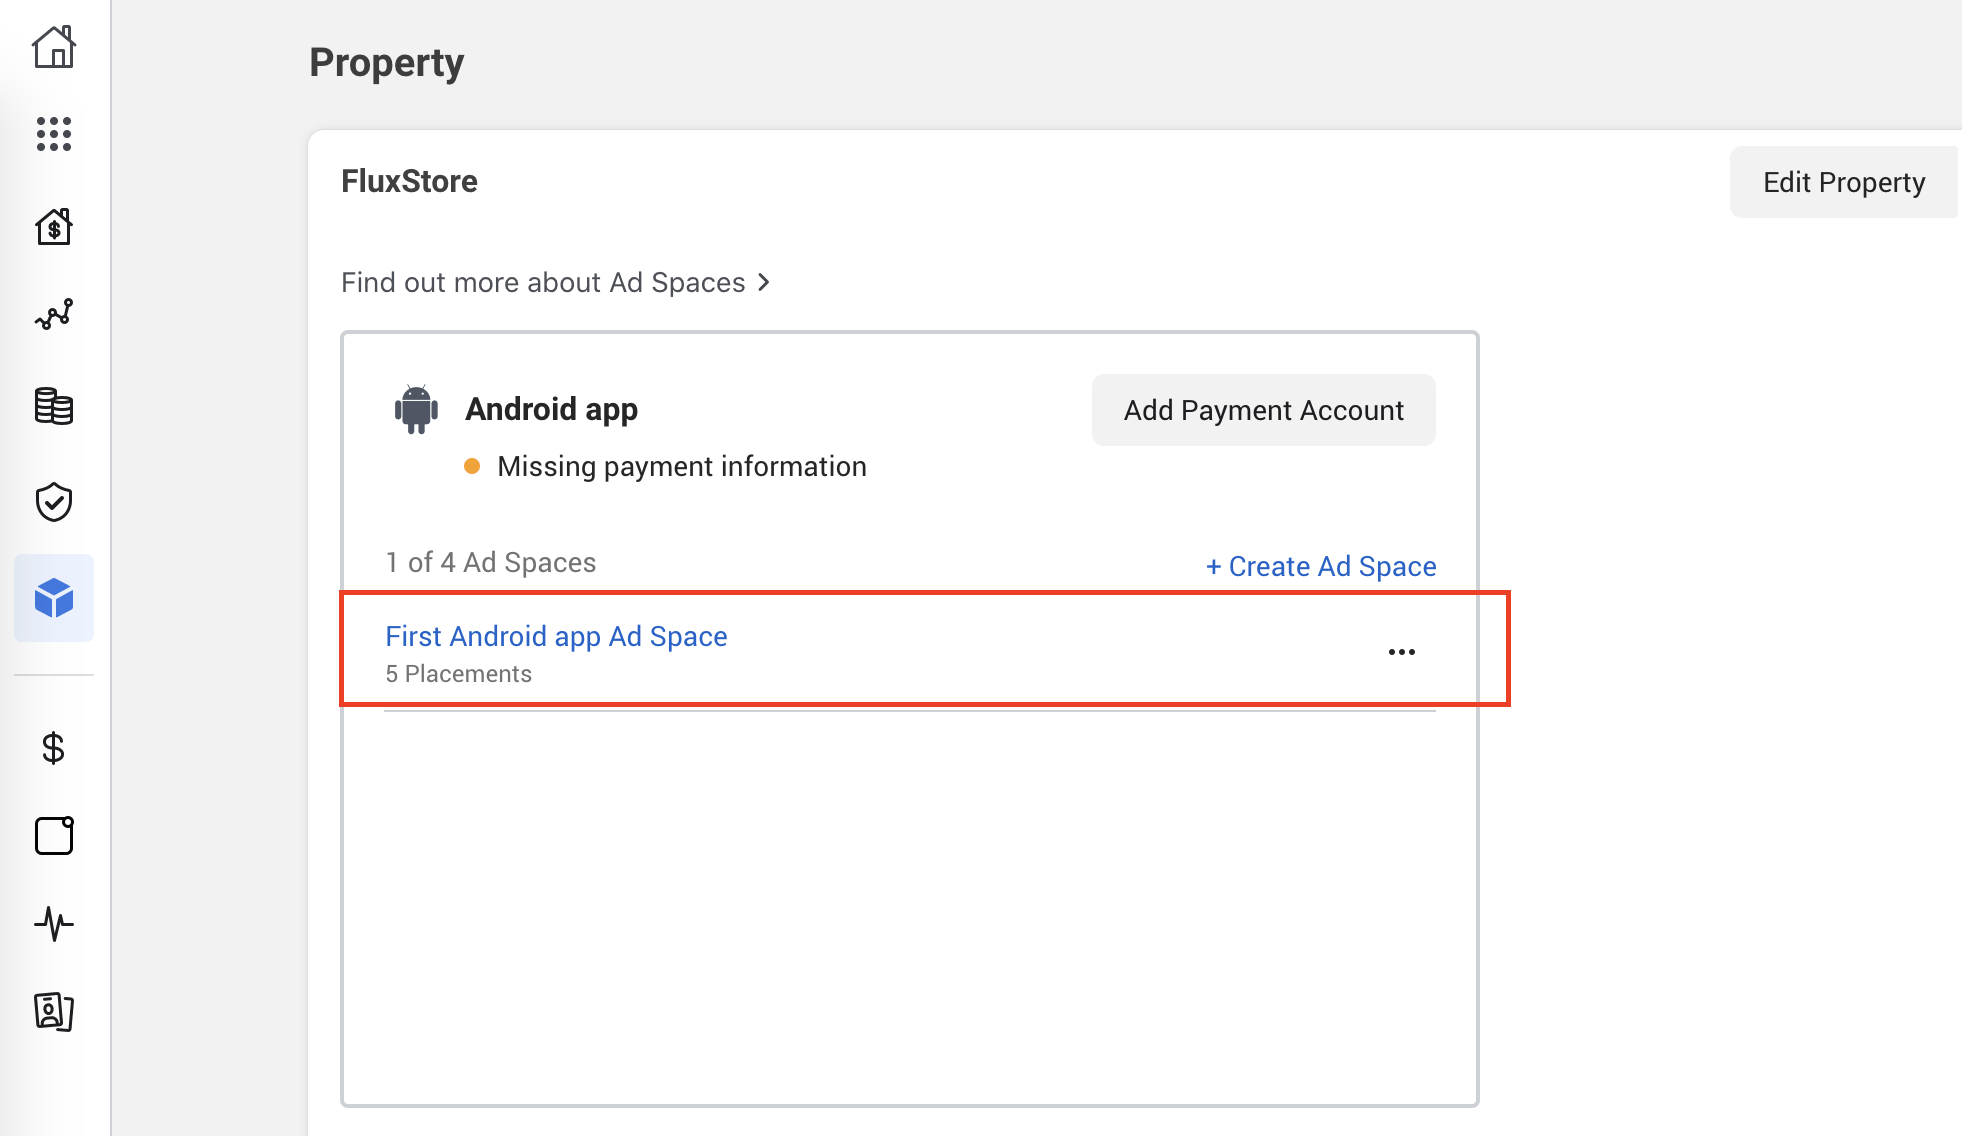
Step 9: Go back to Facebook Monetization Manager home page, click on Integration > Properties on the left-hand side menu bar and select your project property > Ad Space Property.
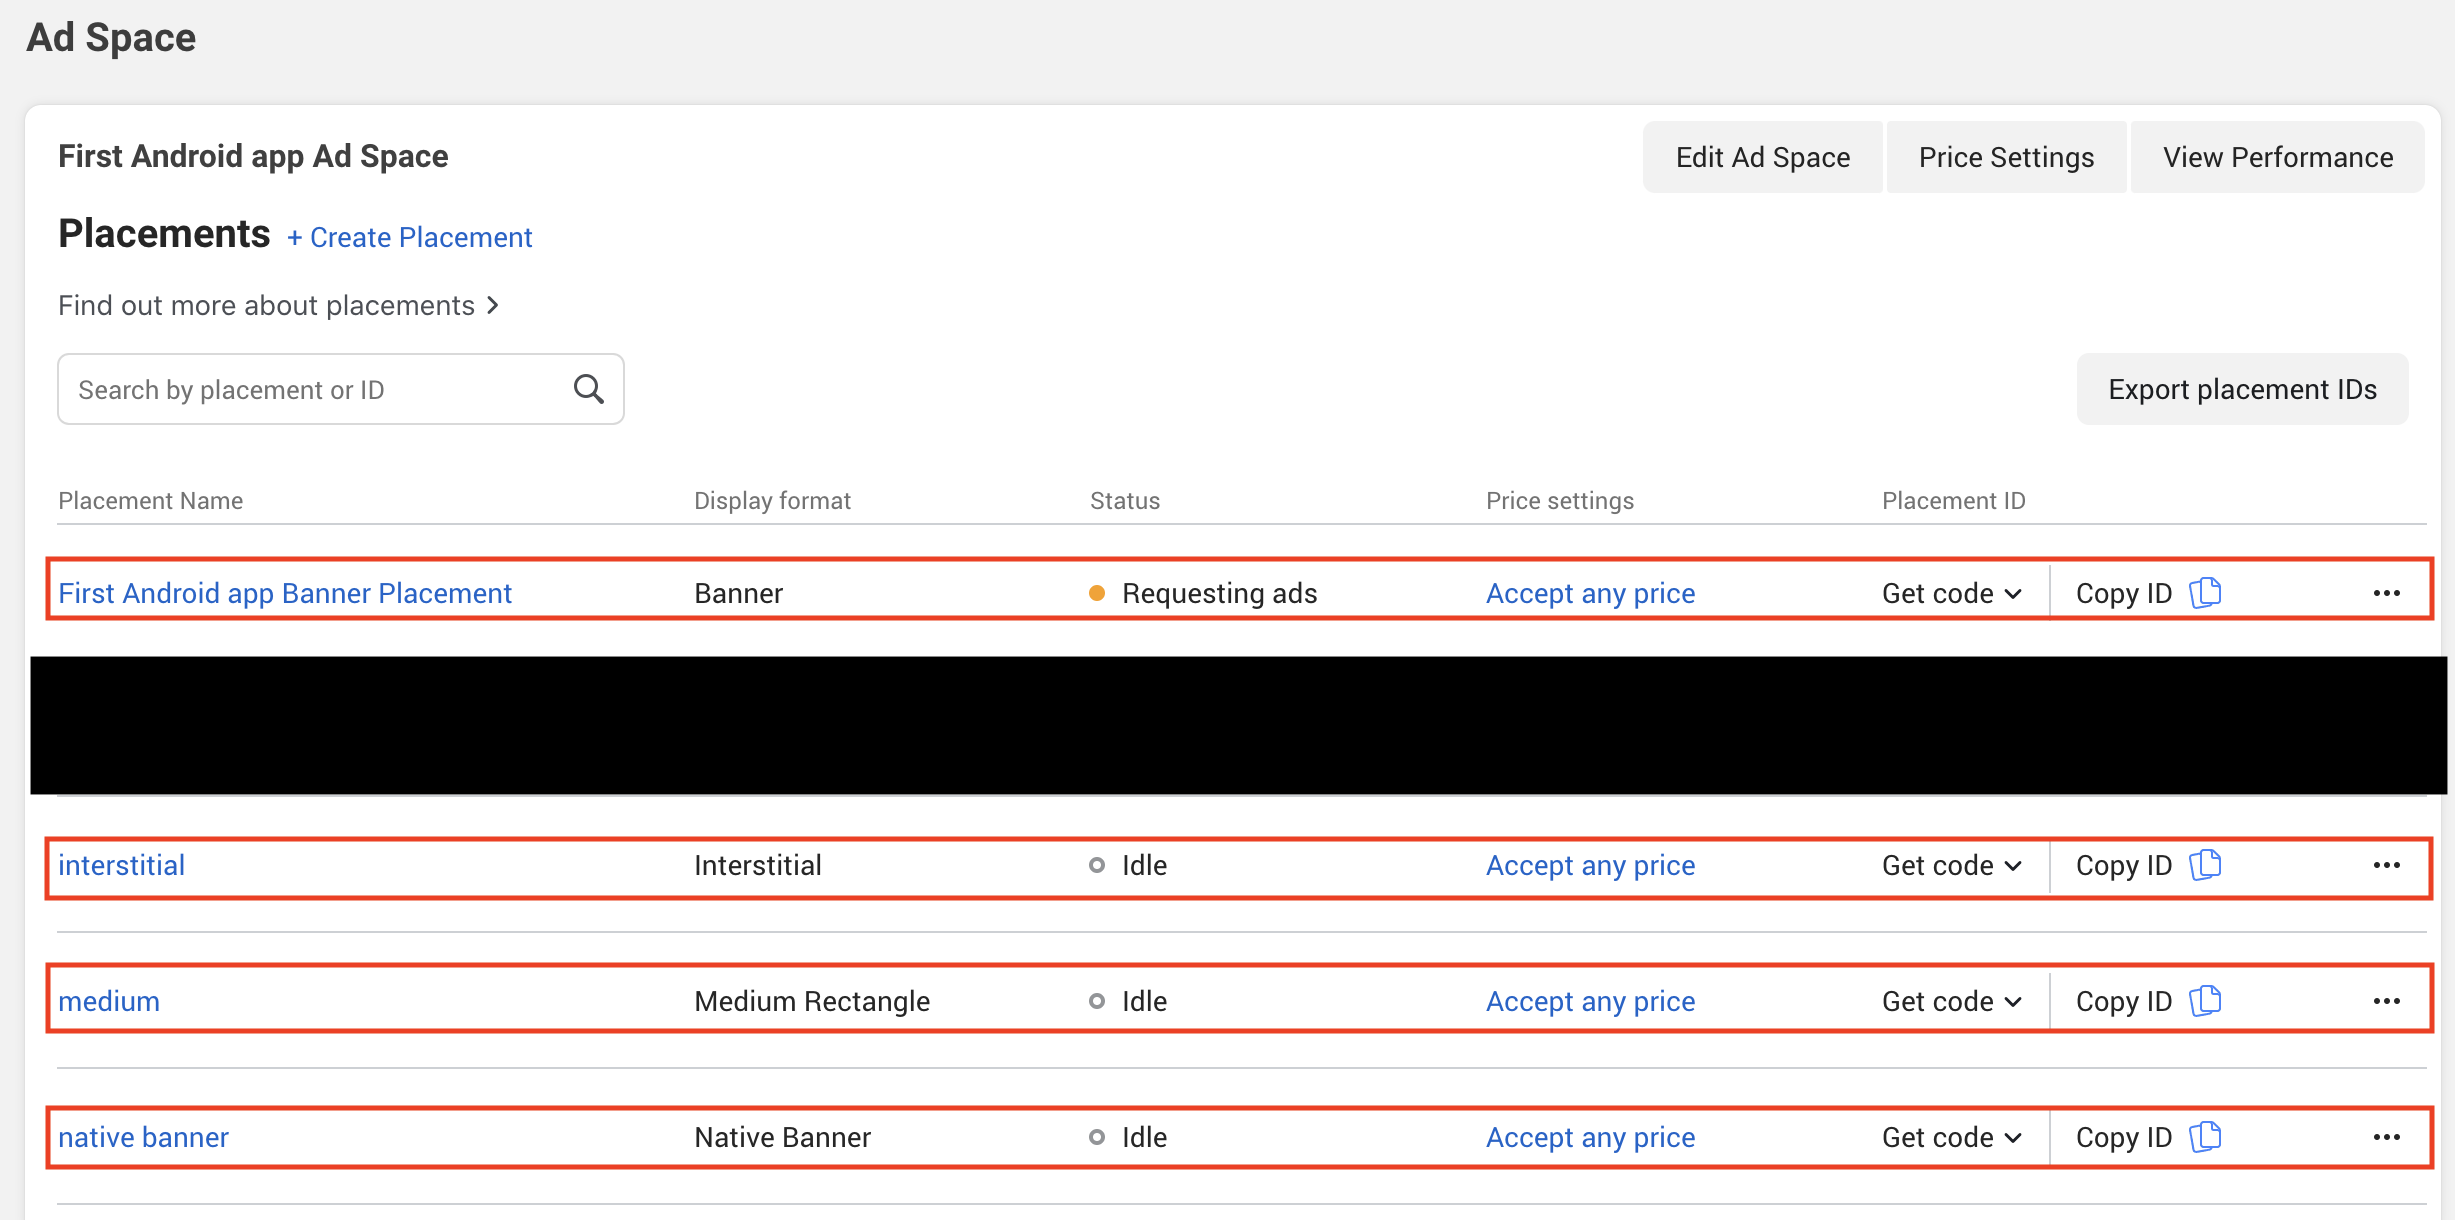
Step 10: Successfully creating Banner, Native, Reward and Interstitial Placement Ads would lead to the result as below. Click on Copy ID at the end of each Ad Placement and save those values for later uses.
Step 11: Repeat from step 4 to step 10 to create placements for iOS platform, and to create 4 types of placement just like Android (Banner, Interstitial, Native, and Reward). After that, click on Copy ID at the end of each Ad Placement and save those values for later uses.
4. Add a new Ads
Below is an example of adding a Banner Google AdMob into Home and Category Screen. The written guide could be found below.
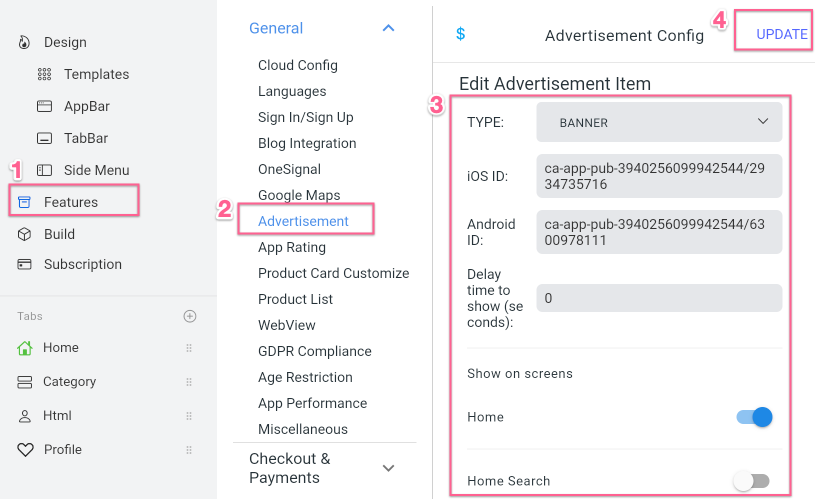
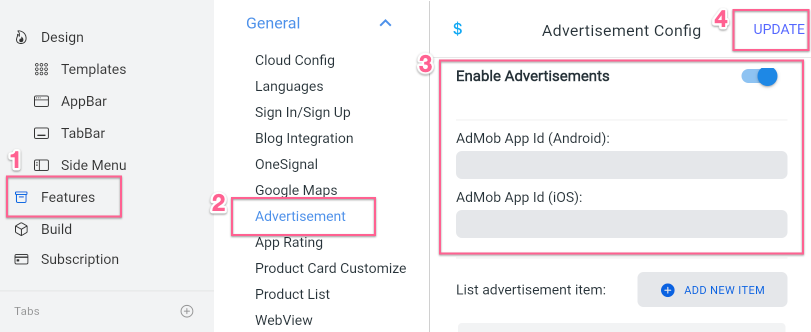
Step 1: Open Builder, choose Features > Advertisement. Enable Advertisement and start adding your first Ads by clicking on ADD NEW ITEM.
Each Ad item including:
- A
Typewhich could beBanner,Reward,InterstitialorNative - A Provider which could be
FacebookorGoogle - An
Android IDwhich could be obtained from Step 2, session 2 - Google Admob depending on itsType - An
iOS IDwhich you could obtain from Step 10, session 3 - Facebook Ads depending on itsType - A
Delay time to showto control the delayed time of an Ads to be shown, in second. - Multiple
Screensthat you want to display your Ads on
Step 2: Click on UPDATE to update your Advertisement Config.
That’s all 🙂